WinBGIDLL Project – How to install WinBGI Graphics.h library in C++ Visual Studio console projects

In the year 2024 I embarked on the task of reviving the more than 70 old programs from “The World of Chaos”, released in 2001, which used the old BGI graphics driver, which ran in Turbo C 3.0 of DOS in 16 bits.
So to maintain the magic of programming in the very pure old school style, I decided to continue using the BGI library but modernized to run under Windows, which was precisely the WinBGI project by Michael Main (University of Colorado) , who shared the code with the community on your website.
The WinBGI project has the advantage that not only does it have a version for Dev-C++, but it also has a version for Visual C++, although updated up to VS2010. This is a great advantage because it could be used with the Visual Studio Community compiler, which has a powerful IDE superior to Dev C++, which is very useful for developing projects in C++, since it has a professional environment to develop academics projects.
Although WinBGI project worked very well to include it as a static library within any project, it seemed like a cumbersome task to apply it to more than 70 programs, I wanted something more copy and paste and more similar to what was done in old school, so I decided to update the project and add a compilation as a DLL.
Additionally, a 64-bit compilation was added, which required some corrections and improvements to be made to the code, so that the library can be used with 64-bit programs. Additionally, missing routines belonging to the old Borland C++/Turbo C conio.h were added.
I have named this new project WinBGIDLL.
In such a way that to add the library it is enough to include BGI.dll and BGI.lib and the graphics.h and/or conio.h headers, just as it was done in the old school. See the USAGE item for more information.
So I updated Michael’s old WinBGI project to be compiled in Visual Studio Community 2017 and also added the projects to create static .lib and dynamic .dll libraries in 32 and 64 bits.
So you can use the old Borland C++ BGI graphics library for DOS on Windows, using newer versions of Visual C++. This way you can revive old code that only worked under DOS or if you are new to BGI you can create powerful graphics programs using this very simple and easy to use graphics library, in true old school style.
Share with us a comment about your experiences with WinBGI-DLL
Get the latest version to start using this graphics library today:
Or, download the latest version of the source code to create a custom version:
USAGE
- These instructions are for use in a Visual C++ console mode Project. It is recommended to use the 64-bit WinBGIDLL build and set your Project to 64-bit as well.
- To use it you must include in your source code the headers graphics.h and/or conio.h, depending on the functions you will use in your program:
#include "graphics.h" // include if you will use graphics mode
#include "conio.h" // include if you will use the conio functions of console mode
- In the Release and Debug folder of your program you must include the BGI.dll and BGI.lib files, in the same location where the .exe executable of your program is located.
- In the Release and Debug Configuration of your Project: Linker\Input\Additional Dependencies you must include the following line
$(Platform)\$(Configuration)\bgi.lib
Important Recommendations for porting from Turbo C 3.x or Borland C++ 3.x to Visual C++ with WinBGIDLL
- If your program will only use console mode, you should include only “conio.h” and no longer “graphics.h.” However, in this case, you must replace the kbhit and getch functions with ckbhit and cgetch, respectively.
- If you use BGI graphics mode, you must include “graphics.h”. In this case, “conio.h” will be optional only if you plan to use a function from “conio.h” in console mode that precedes the graphics mode.
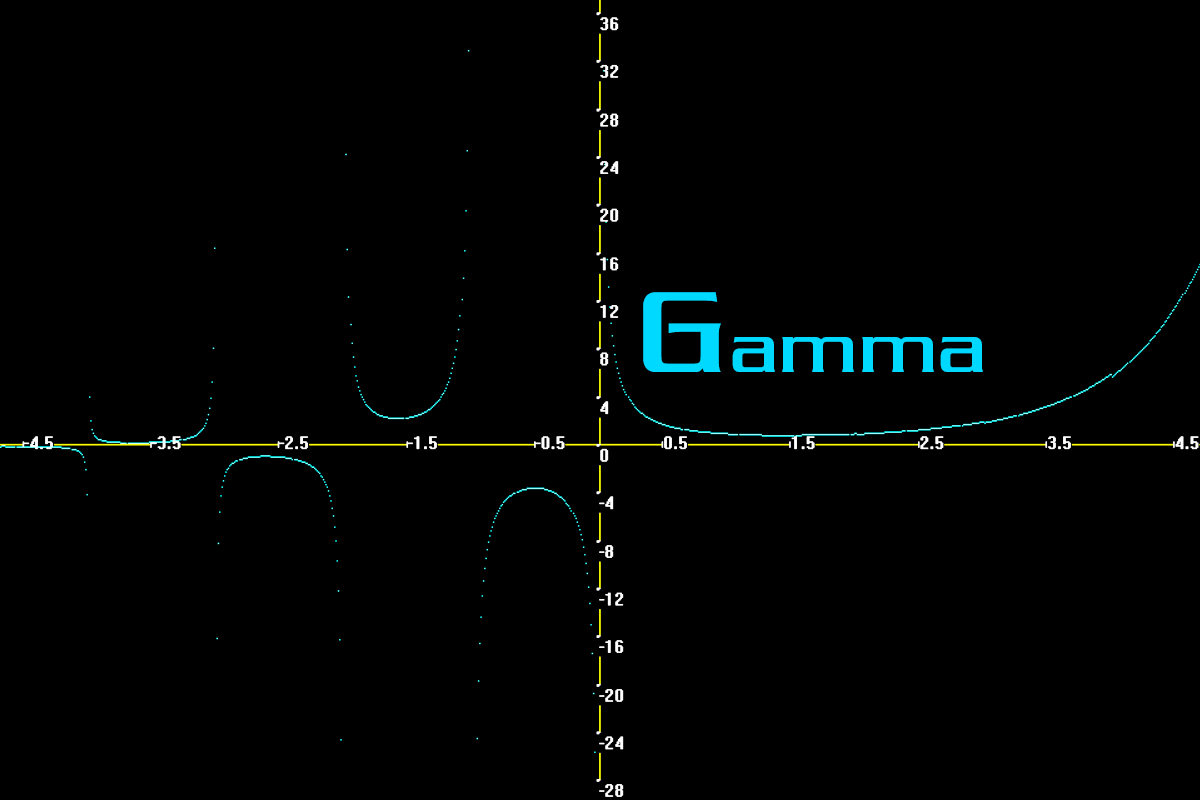
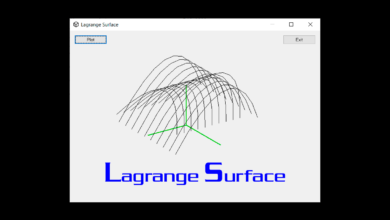
- You will find several examples of how to use the WinBGIDLL library in the C++ Programming Gallery/Graphics section of The World of Chaos.
HISTORY
Version 2 – 01-IV-2024
- New: wherex, wherey, textcolor, cgetch and ckbhit functions are added:
- wherex, wherey, textcolor, cgetch and ckbhit functions are added
- Comments are added to the declaration of each function
- If WinBGI is not used, the 16 default colors are defined for console mode
- The cgetch and ckbhit functions are defined in console mode (conio.h), so as not to cause the same conflict with the WinBGI getch and kbhit functions.
- New: randomize function added at conio.h and removes unnecessary functions. randomize: Start the seed to generate random numbers. Used with the random function
Removes unnecessary functions not defined in old Borland C++ and Turbo C: RedirectConsoleIO, ReleaseConsole, AdjustConsoleBuffer and CreateNewConsole - New: setbkmode function added at graphics.h. Usage: setbkmode(TRANSPARENT) or setbkmode(OPAQUE) . By default WinBGI starts in OPAQUE, but the old turbo C and Borland C++ started in TRANSPARENT. But with this function you can switch between one and the other
- New: outtext and outtextxy take const char* parameters. This way you can pass constant strings defined at compile time as arguments to outtext and outtextxy in Visual C++ 2017, without needing to cast char*
- Additionally, the Release-DLL and Release-Library projects are added to create the dynamic DLL library and the static .lib library, respectively. Additionally, the x64 platform is added to each project to compile the code in 64 bits.
- .def file is added, with the list of exported functions in the DLL Library
- Added conio.h as part of winbgi to handle some console functions from the old Borland C++ conio.h. Like gotoxy, clrscr and CreateNewConsole and ReleaseConsole are also added to add or remove a console window when in graphical mode, and in this way easily load input data and display output or error messages when exiting graphical mode.
- The old project by Michael Main (University of Colorado). WinBGI2010 for Visual C++ 2010. Original project: https://home.cs.colorado.edu/~main/bgi/visual/
- The code is optimized to be compiled in 64 bits. GetWindowLong is changed for GetWindowLongPtr and SetWindowLong is changed for SetWindowLongPtr.